IN GENERAL
Fast Track From Final Cut Pro to DVD SP
Quick Menu From Photoshop to DVD SP
MENUS
Using Motion to Create
Animated Backgrounds (FADE IN )
Using DVD SP Assets From Templates
Auto Assigning Buttons/
More Button Creation-Mapping
Semi/Pseudo Animated Rollovers Sort Of
TRACKS
STORIES
Scriptless Play All/Scene Selection
SCRIPTS
Using Scripts For Preferences (Audio Selection)
| DVDSTEPBYSTEP.COM / QUICKMAP |
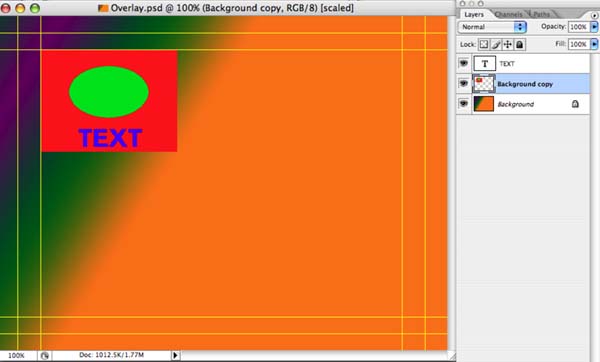
This will show howto do some qucik mapping in DVD SP. The photoshop file is here. (Control Click and download linked file) NOTE: The colors can be made more precise or be done in shades of Black, Whiote, Gray. Just a quick overview right now.
OVERVIEW
I made a background gradient layer in Photoshop, then another layer with a red square and a green circle, then finally a blue text layer. The background was saved as a pict, then the square/circle/text were saved together as a pict as follows:
BACKGROUND PICTURE

OVERLAY PICTURE

DETAILS
NOTE: While I am using the green/blue/red above, the same principles apply gray scale. Also note that you should use BLACK RED & BLUE NOT GREEN
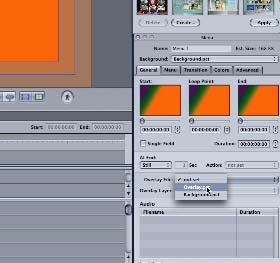
1.) Set the background layer for the menu to the Background and the Overlay layer to the Overlay
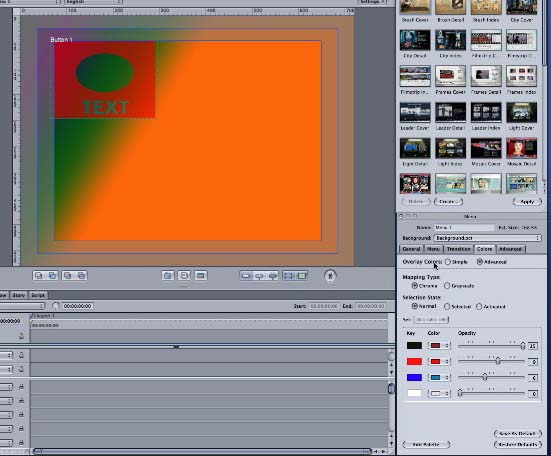
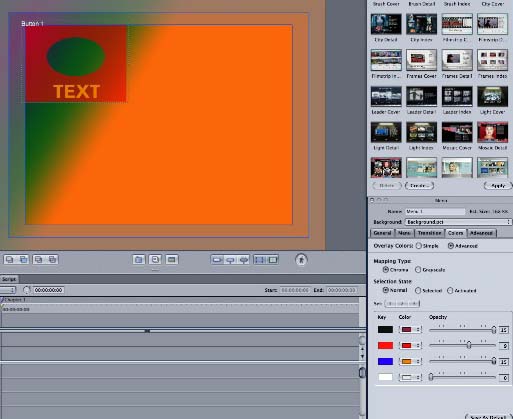
2.) Adjust the colors for what you want (note how you can change the colors and opacity of the colors with the sliders)
The DVD SP movie using the photoshop files is here (You probably should click and dowload to disk, page not made well yet :) )